Outdoor Cartography Textual Labeling in Studio

The textual aspect of the label is critical for map legibility, and can be customized in Studio to drive better engagement. Open the Natural Label Layer and style as a “Symbol”. (In this case I filtered the layer)

In the style panel I uploaded and added an icon (a thin white line SVG) using this updated Studio tutorial.Select “Text” from the style panel and in the text field box choose the “Name” field.

The magic happens in the “position” panel using the“Text offset” control, which controls the position of text label by entering an x and y value. PLEASE also note further down the panel is an “icon offset” control to position the icons.

Adding a prefix, suffix or some contextual data-driven text
To enhance labels include a data driven field from the layer or some contextual text or data from custom data uploaded to Mapbox. Duplicate the layer created and use the “elevation_ft” field for the source of the text. Using the coalesce function in the Text field formula box we add a prefix, see the screenshot below where I have added the letter “M” for metres.

The options are almost endless. Below is an example where data-driven text is enclosed within a contextual sentence.

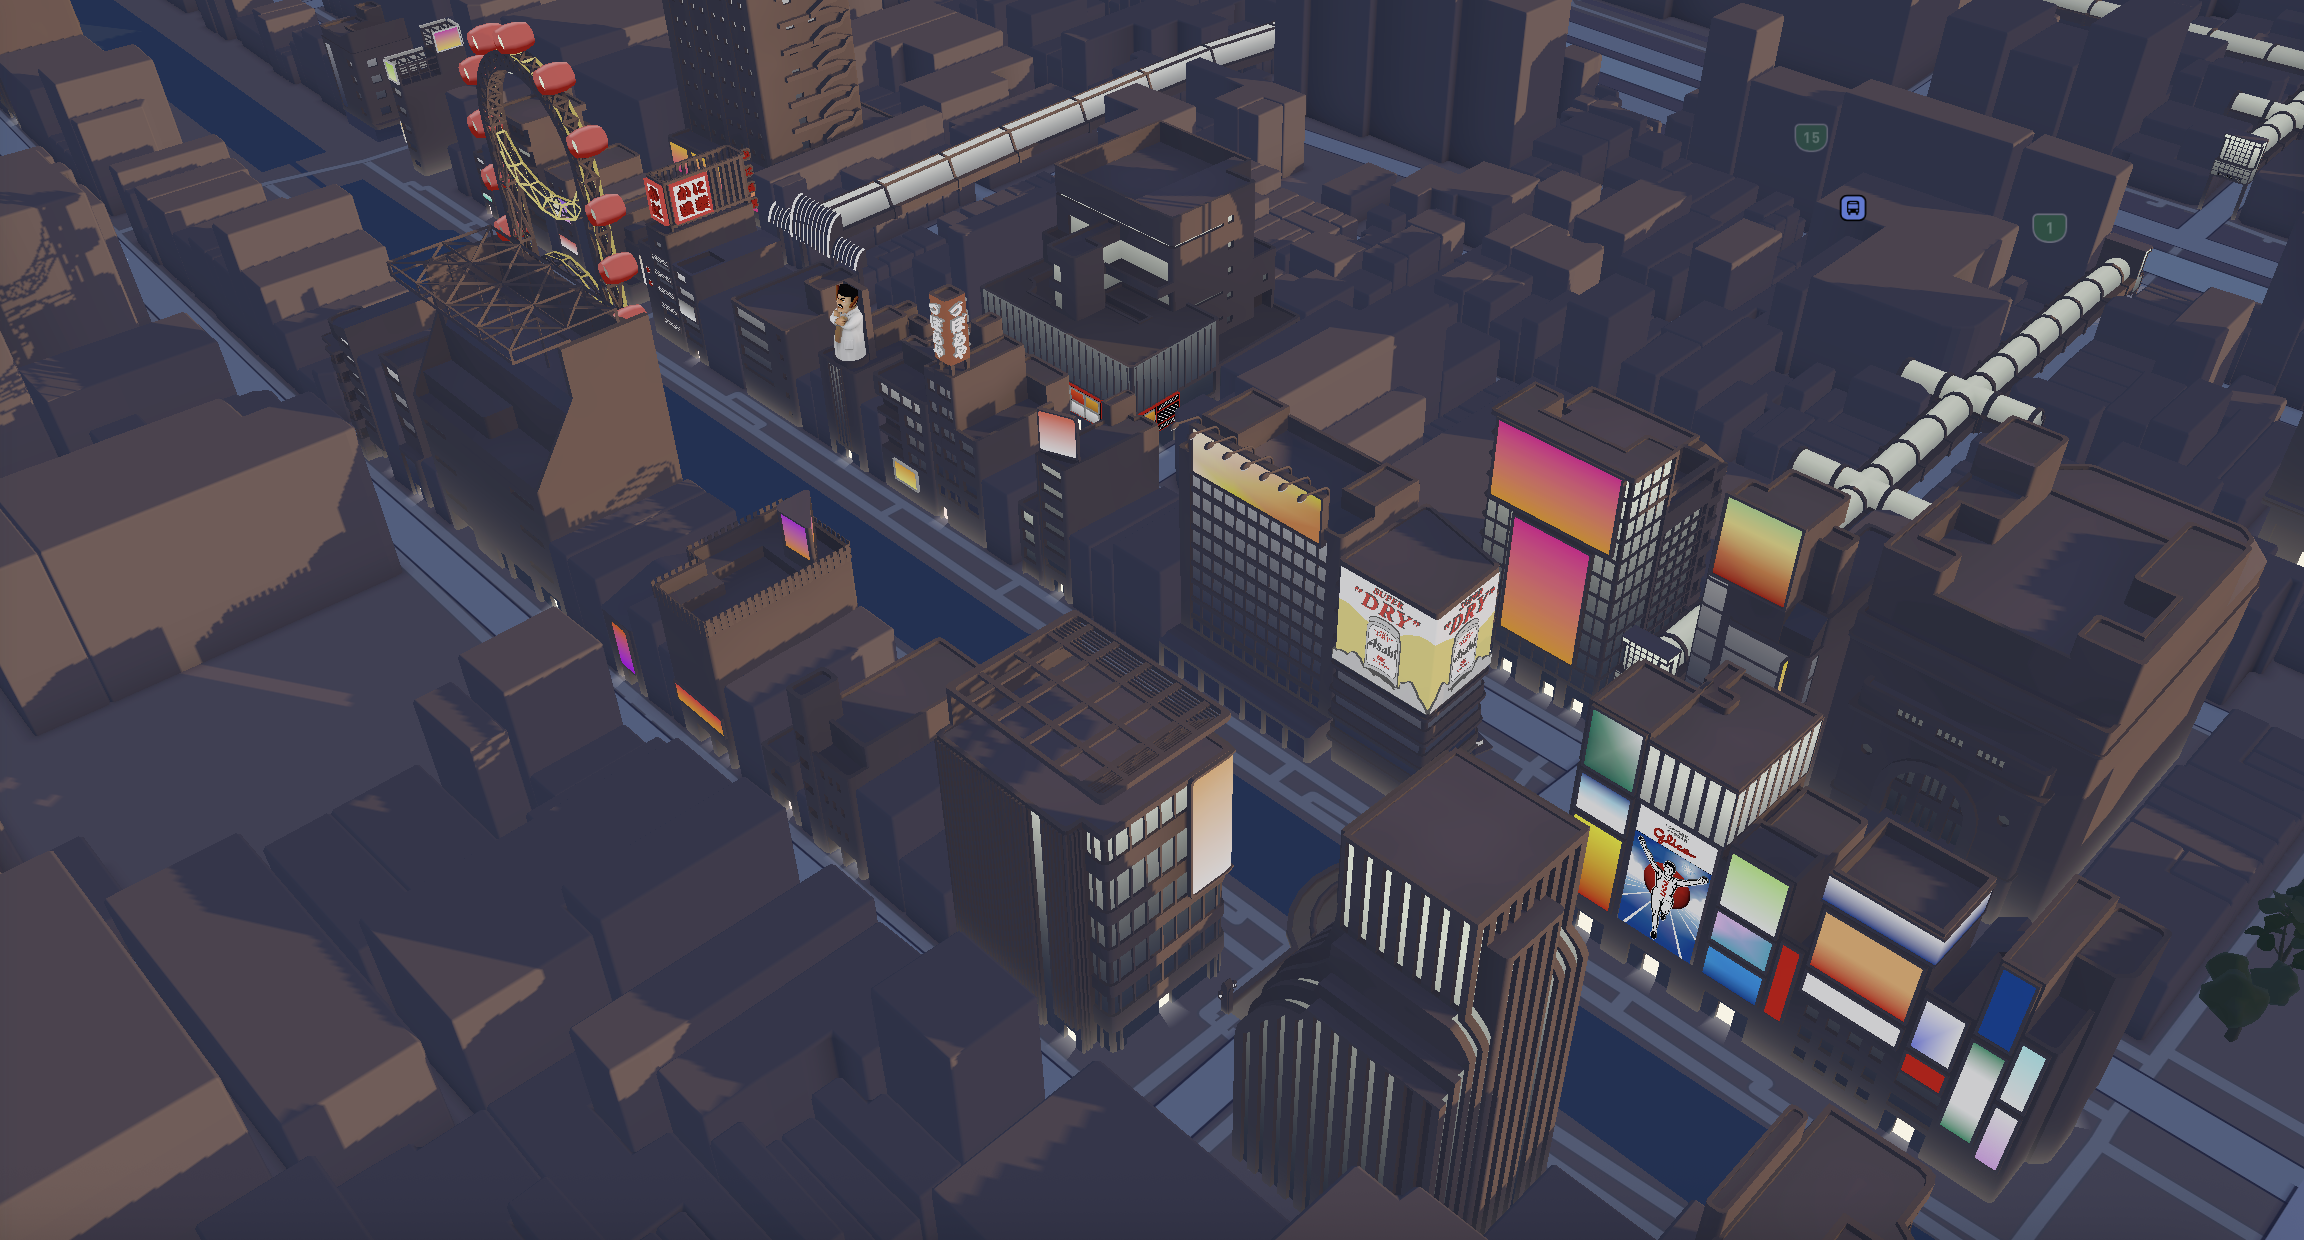
And of course colour the text on a data-driven value. This text can then be positioned using the “Offset text” technique covered above. Combining text and icons into labels adds value to geographic layers, be them points, lines or fills. And of course they look amazing using 3D Terrain!
Have fun experimenting with labels and let me know what you create!


Related articles
Build once, run everywhere: Web support comes to the Mapbox Maps SDK for Flutter
From airports to stadiums, maps are elevating the soccer fan experience