5 steps for creating a custom map
Stunning. Useful. Relevant. Contextual. That’s our goal for every map created with Mapbox. And with Style Components in Mapbox Studio, designers can fine-tune the display of the map to highlight the features that fit their audience.
Maps should do more than communicate where. They should complement what they're being used for and make the data displayed on top it easier to understand. With custom maps made for a specific use case, designers can focus on legibility and adjusting aesthetics by focusing on the most relevant information for a user — like terrain for a fitness app or road details for a navigation use case.
Here are five tips from our Map Design team on how to make high-level design decisions when building a custom map using Style Components in Studio:
1. Start with the right basemap style
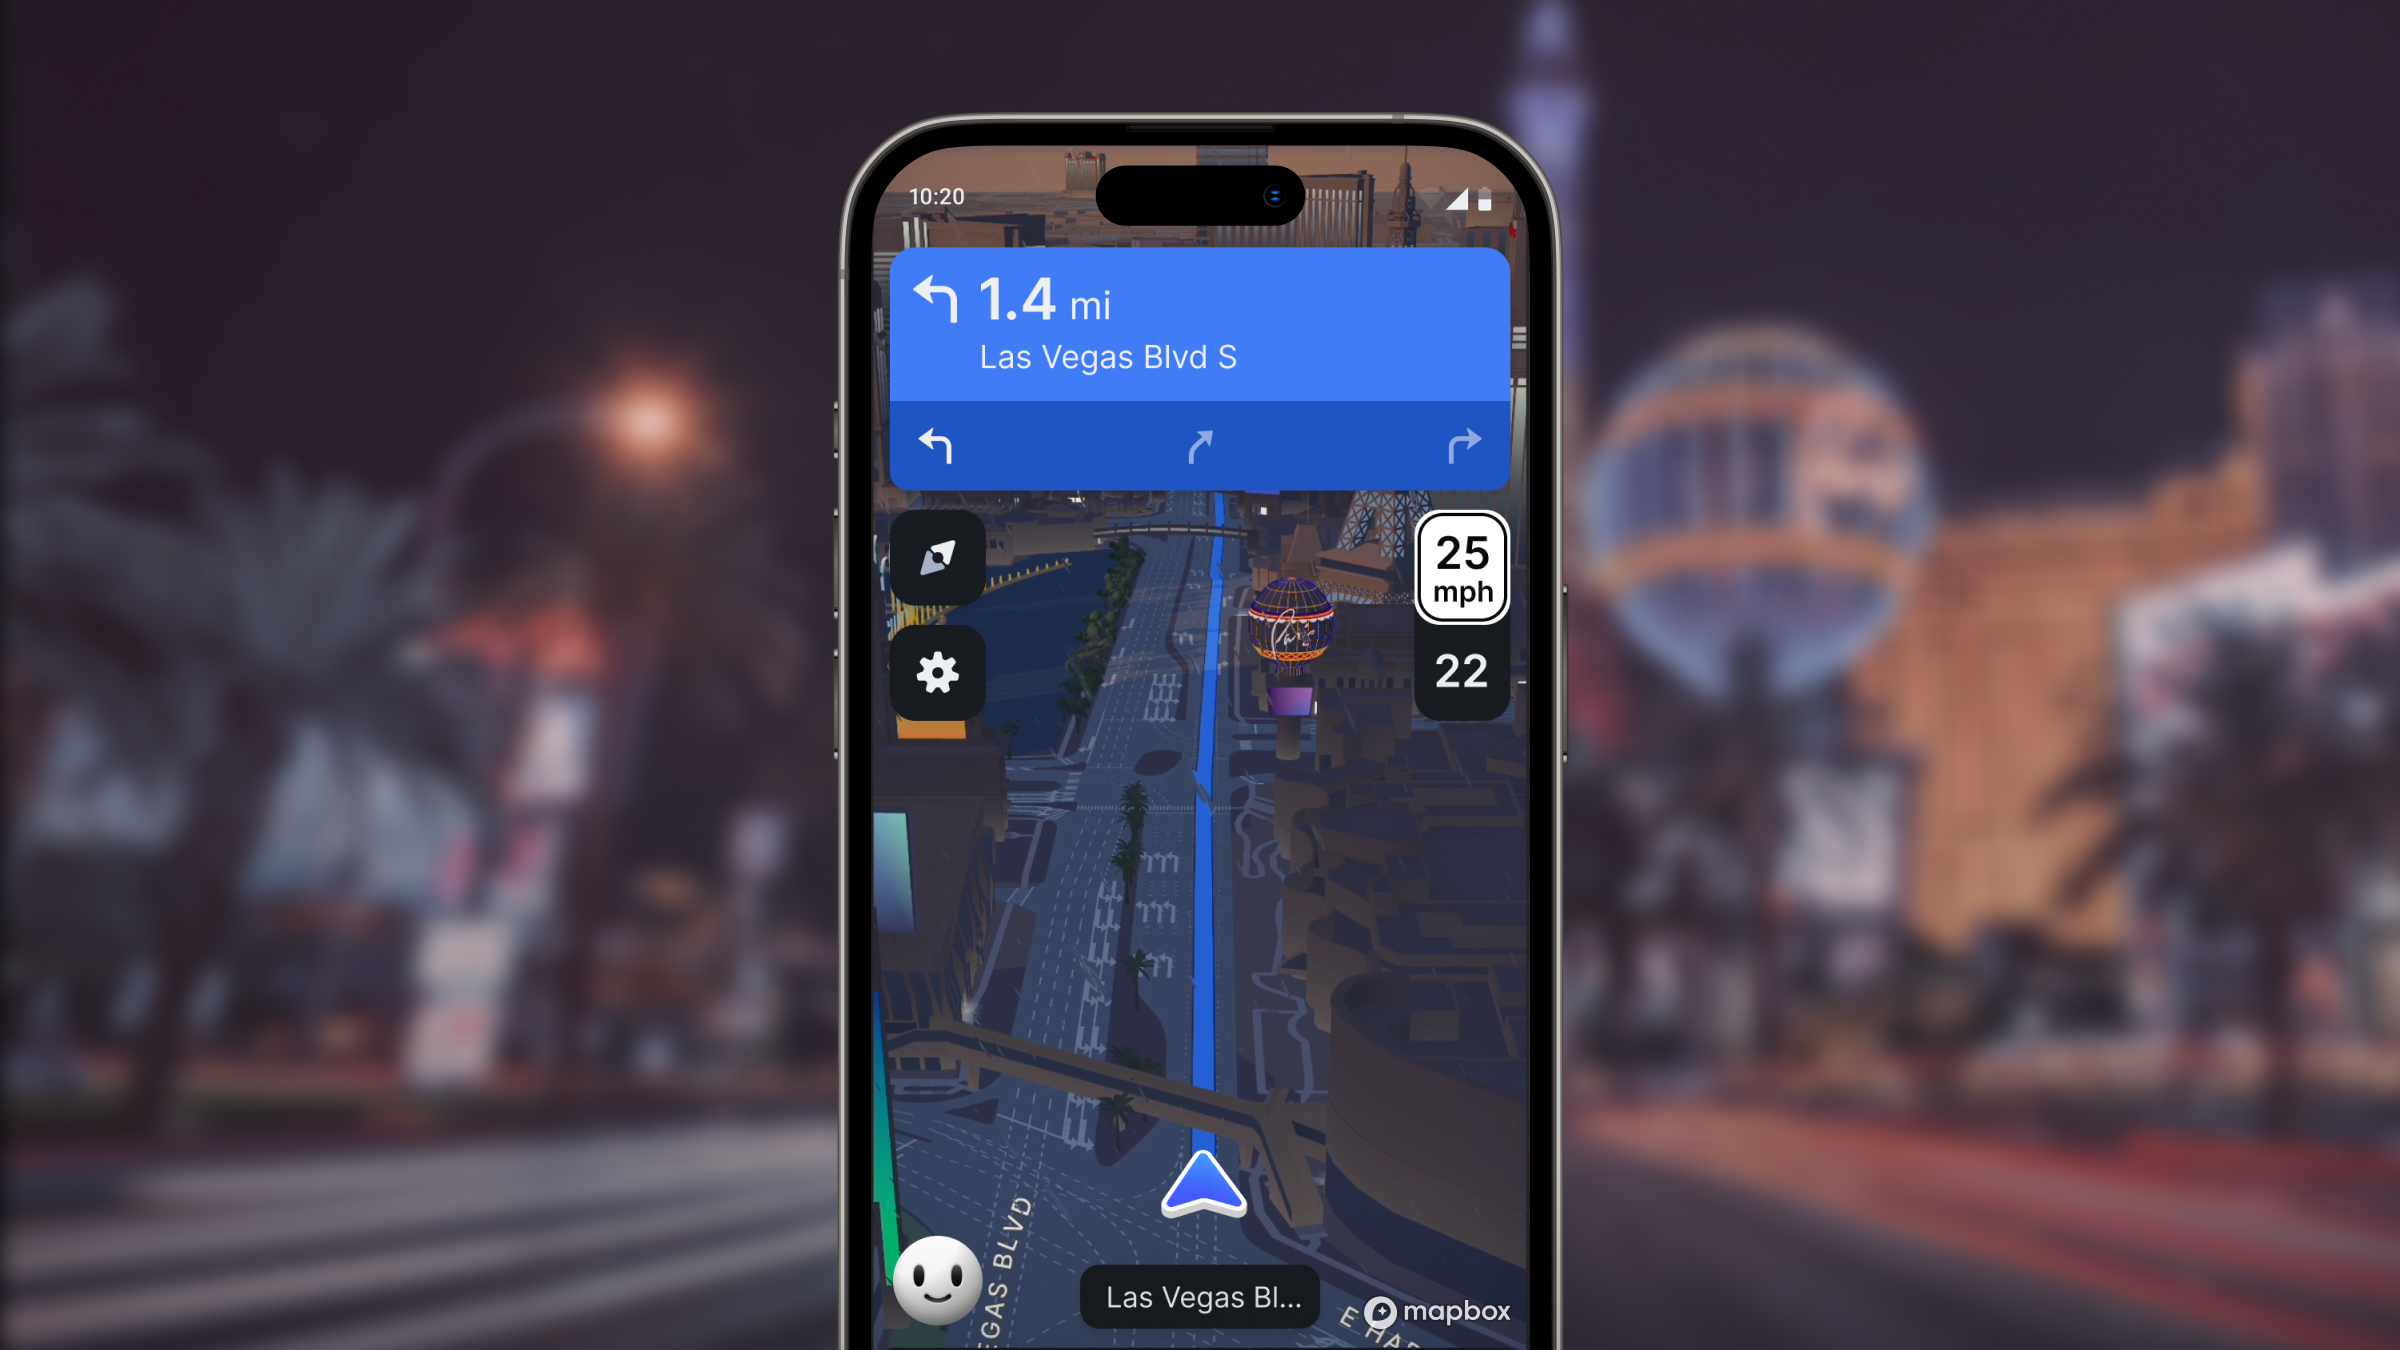
In Studio, we offer six-core map styles with default styling and customizations designed for specific use cases ranging from navigation to real estate to fitness apps to data visualizations. While you could start from scratch, these basemaps jump-start the customization process with their unique, default styling, so choosing the right one is critical for setting the tone of your design and getting started with everything you need.


2. Update the typeface
Typeface gives character to the map and is a simple switch that quickly makes the map your own. Adjusting the typeface and font formatting can also add more context to the map — the more legible something is, the higher it is on the visual hierarchy. You can configure legibility by changing the sizing, casing, or capitalization.
Studio has over 45 typefaces built in, but if you have your own custom font you can upload it to Studio and use in your map. If you want more pointers on how to pick a good font, I love the guidelines in this article from Smashing magazine.
3. Adjust the road network
A well-designed road can turn a good map into a great map. Many people understand how cities look from their personal experience, so making a road network that matches that mental model helps best communicate the design.
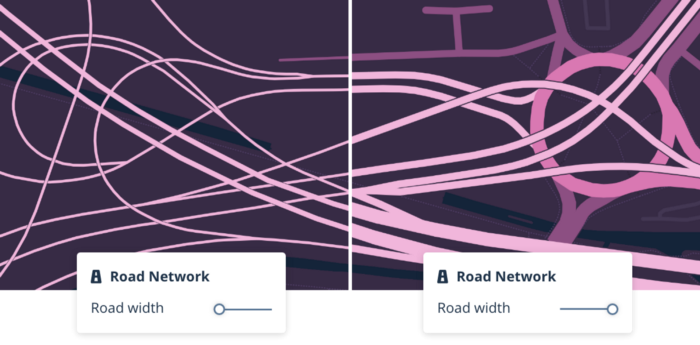
In Style Components, we simplified the complexity of making changes to a road network. Now you can make a high-level design decision like change road with by adjusting the toggle, and that change will propagate for roads and road types around the world.
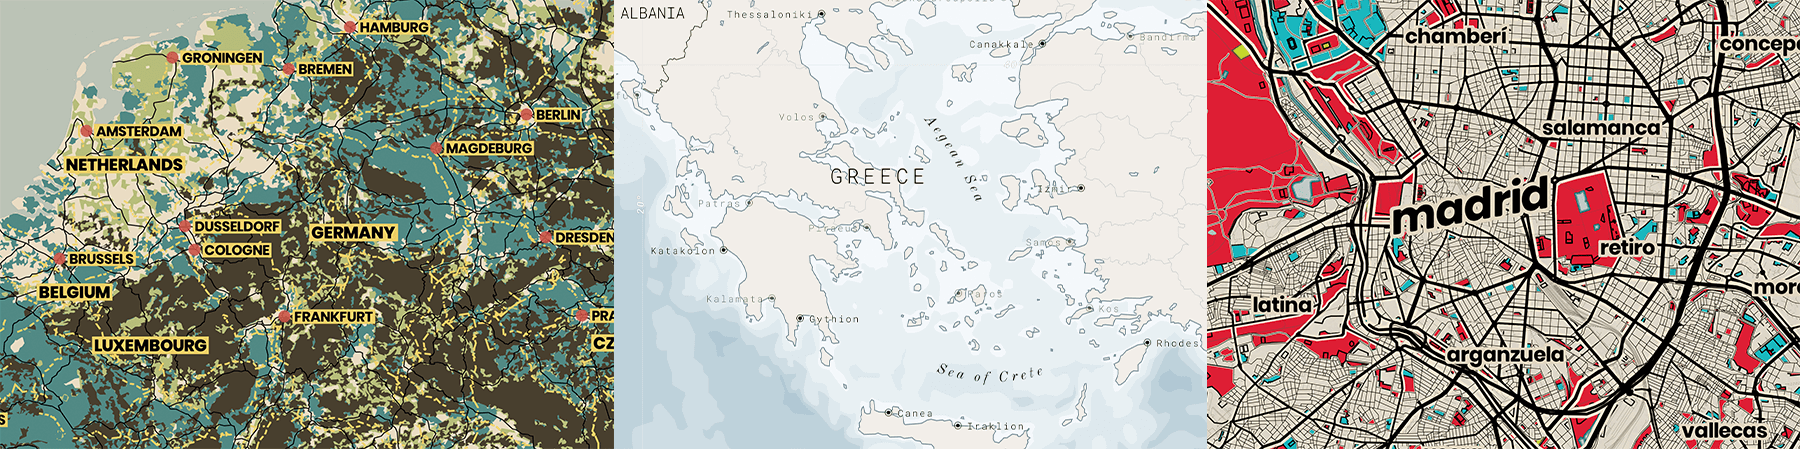
In the images above, the most striking difference between each is how the road network is represented. In the Basic map style (left), the road is comprised of solid lines without any outlines. This minimalist styling is great for making other map features stand out. The Navigation map style (middle) is fully focused on the road. With prominent highway shields, large and legible road labels, explicit contrast between road and land with road casings, and traffic patterns, this map styling makes it clear that the road is the key feature for the user. The Blueprint map style (right) only uses the road casings width to convey the road network hierarchy aesthetically.
4. Add texture
Textures give depth to features on the map and are most impactful when applied to large polygon features like water, landcover, or the background land. As a hat tip to older printing systems, I like to use textures to mimic the color effects of layered printing. Mapbox’s tiles are 512x512 pixels, so seamless pattern icons will need to divide smoothly into 512 for the pattern to repeat correctly.
5. Pick the right colors
Picking colors is arguably one of the most fun parts of designing a map, and it is tempting to do so early in the design process. However, we recommend to pick general colors early on but wait until everything else is finished before picking final colors. This allows details like line weights, textures, and other features that could alter or clash with color choices to be locked before picking a truly harmonious palette. Colors are fun but can be tough to get right. Adobe and Lyft created easy to use palette pickers to generate harmonious colors.
Frank, the map design above, has a minimalist color palette. To keep from having too many colors at once, we reduced the total number of swatches and only added colors back in as the design called for it. This method forced us to consider what was crucial to the design and made us more critical about how we used color as a visual tool for guiding the user on how to read the map, not just how it looked aesthetically.
To get started making your own custom map, head to Studio to start building or view our Gallery page for inspiration. Once you’ve designed something you love, share it with us on Twitter using #builtwithmapbox to show off your design.


Related articles
Tour Osaka in 3D with Mapbox Standard

One Attribute to Rule Them All