How to build a “scrollytelling” map
Every step to tell a story with the Interactive Storytelling template
Our new Interactive Storytelling template is out and ready for you to dive in creating guided narratives with a fully interactive map and little to no code. Major media outlets have used this format to tell powerful stories, like the San Francisco Chronicle’s deeper look at the origin of the Kincade fire, or the Washington Post’s exploration of the 1968 Riots in Washington, DC.
At its core, the template can be used as is, without ever having to style or upload any data to Mapbox Studio. All you need is a Mapbox account, an access token to start building a simple but very effective “scrollytelling” story that showcases different places in a region or a timeline of events with chapters and basic markers on an animated map.
Basic map
First, download the template from the Github repo. Unzip the file, and navigate to the folder called src. We’re interested in the vanilla-js folder; react-js is for more advanced users.
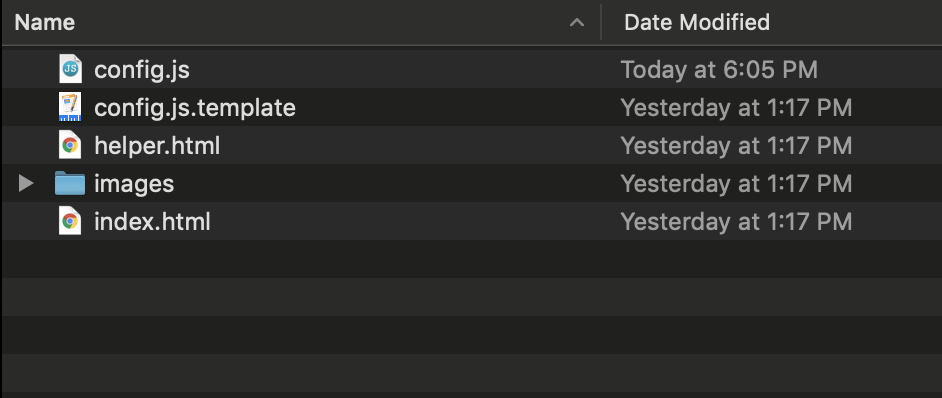
In the vanilla-js folder, you will see 4 files:
- config.js.template: This is the file you will be working in.
- index.html: This contains the code for the template. You can open it in your browser to see your progress as you build your story.
- An image folder for all your images and other assets.
- helper.html: This is a utility to help you generate the location and map view for each point in the story.
To get started, duplicate config.js.template and rename it config.js like so:
Next, let’s open config.js in the text editor of your choice. You can download Sublime Text 2 or Atom. Below is the configuration file untouched:
var config = {
    style: 'mapbox://styles/mapbox/streets-v11',
    accessToken: 'YOUR_ACCESS_TOKEN',
    showMarkers: true,
    theme: 'light',
    alignment: 'left',
    title: 'The Title Text of this Story',
    subtitle: 'A descriptive and interesting subtitle to draw in the reader',
    byline: 'By a Digital Storyteller',
    footer: 'Source: source citations, etc.',
    chapters: [
        {
            id: 'slug-style-id',
            title: 'Display Title',
            image: './path/to/image/source.png',
            description: 'Lorem ipsum dolor sit amet, consectetur adipiscing elit, sed do eiusmod tempor incididunt ut labore et dolore magna aliqua. Ut enim ad minim veniam, quis nostrud exercitation ullamco laboris nisi ut aliquip ex ea commodo consequat. Duis aute irure dolor in reprehenderit in voluptate velit esse cillum dolore eu fugiat nulla pariatur. Excepteur sint occaecat cupidatat non proident, sunt in culpa qui officia deserunt mollit anim id est laborum.',
            location: {
                center: [-122.418398, 37.759483],
                zoom: 13.5,
                pitch: 60,
                bearing: 0
            },
            onChapterEnter: [
                // {
                //     layer: 'layer-name',
                //     opacity: 1
                // }
            ],
            onChapterExit: [
                // {
                //     layer: 'layer-name',
                //     opacity: 0
                // }
            ]
        },
        {
            id: 'other-identifier',
            title: 'Second Title',
            image: './path/to/image/source.png',
            description: 'Copy these sections to add to your story.',
            location: {
                center: [-77.020636, 38.886900],
                zoom: 13.5,
                pitch: 60,
                bearing: -43.2
            },
            onChapterEnter: [],
            onChapterExit: []
        }
    ]
};
First, add your access token (which you can find here after creating an account.) Mapbox Streets is included in the template by default, but if you’d like to use a different base map, just swap in the style url of your choice.

We’re going to the include the default markers by leaving showMarkers value to true.
Now, we’re going to start filling in the location information for each chapter. You can use the helper.html file provided with the template to identify the coordinates (map center), zoom level, pitch, and bearing, to dial in the exact map view for each chapter. To do this, open the file in your browser, type in an address in the geocoder in the top right corner, and move the map around to adjust the view. Control+click and tilt and rotates the map if you’d like. And don’t forget to take into account the placement of the block of text in the template (default value is left-aligned). Finally, copy the location information code and paste into the configuration file.
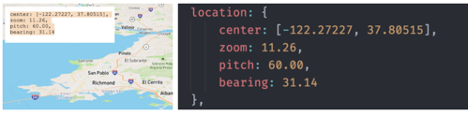
Repeat this process until you have all your locations set up. You can then start adding a title, a description, and url or paths to images.
{
    id: 'intro',
    title: 'A local's guide to Washington, D.C',
    image: 'https://www.washingtonpost.com/resizer/LB5cSvyCfPBXonvYBbgQq6OF8XQ=/1024x0/arc-anglerfish-washpost-prod-washpost.s3.amazonaws.com/public/3AB7DBUBM4I6TNMF4NVRNJJRVI.jpg',
    description: 'To know Washington is to peel back its suit: The briefcases and blazers the rest of the world sees are just covers for a vibrant, creative community. Whether it's the food scene — one of the country's best — or murals tucked away in historic alleys, the city D.C. residents know is quirky — and inspiring.',
    location: {
        center: [-77.07567, 38.89583],
        zoom: 11.23,
        pitch: 60.00,
        bearing: 43.61
    }
}
To check out the results, open index.html in the browser and scroll. That’s it! You now have a fully functional map with markers. You can view a demo here.
Level up: Styling layers
Now, we’re going to take this template to the next level by styling custom layers in Studio and using the template to control the layers’ visibility. The following examples are from a map originally published on the Huffington Post that I rebuilt in the template.
To include custom layers in your story, you first have to upload and style your data using Mapbox Studio.

After uploading and styling your data, you should toggle the layer’s opacity (NOT the visibility) based on the layer’s desired behavior when scrolling. The rule of thumb is that the opacity of a layer set in Studio will remain the same until it is changed in the template configuration files.
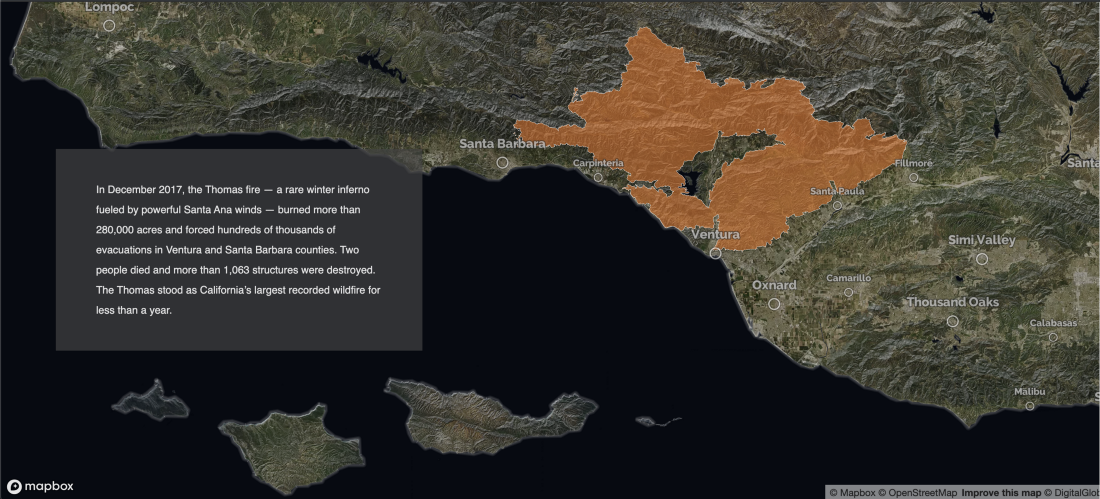
In the example above, I want the fires and the satellite layers to be visible on my first chapter so I will leave those as-is. You can also keep all the layers that won’t require any adjustments, such as background, water, etc.

For all layers that you don’t want to be visible in the first chapter, turn the opacity down. Those will be adjusted in the configuration file later. Once you’re done, you can publish your style and click on the “Share” button to get the style url and your access token.
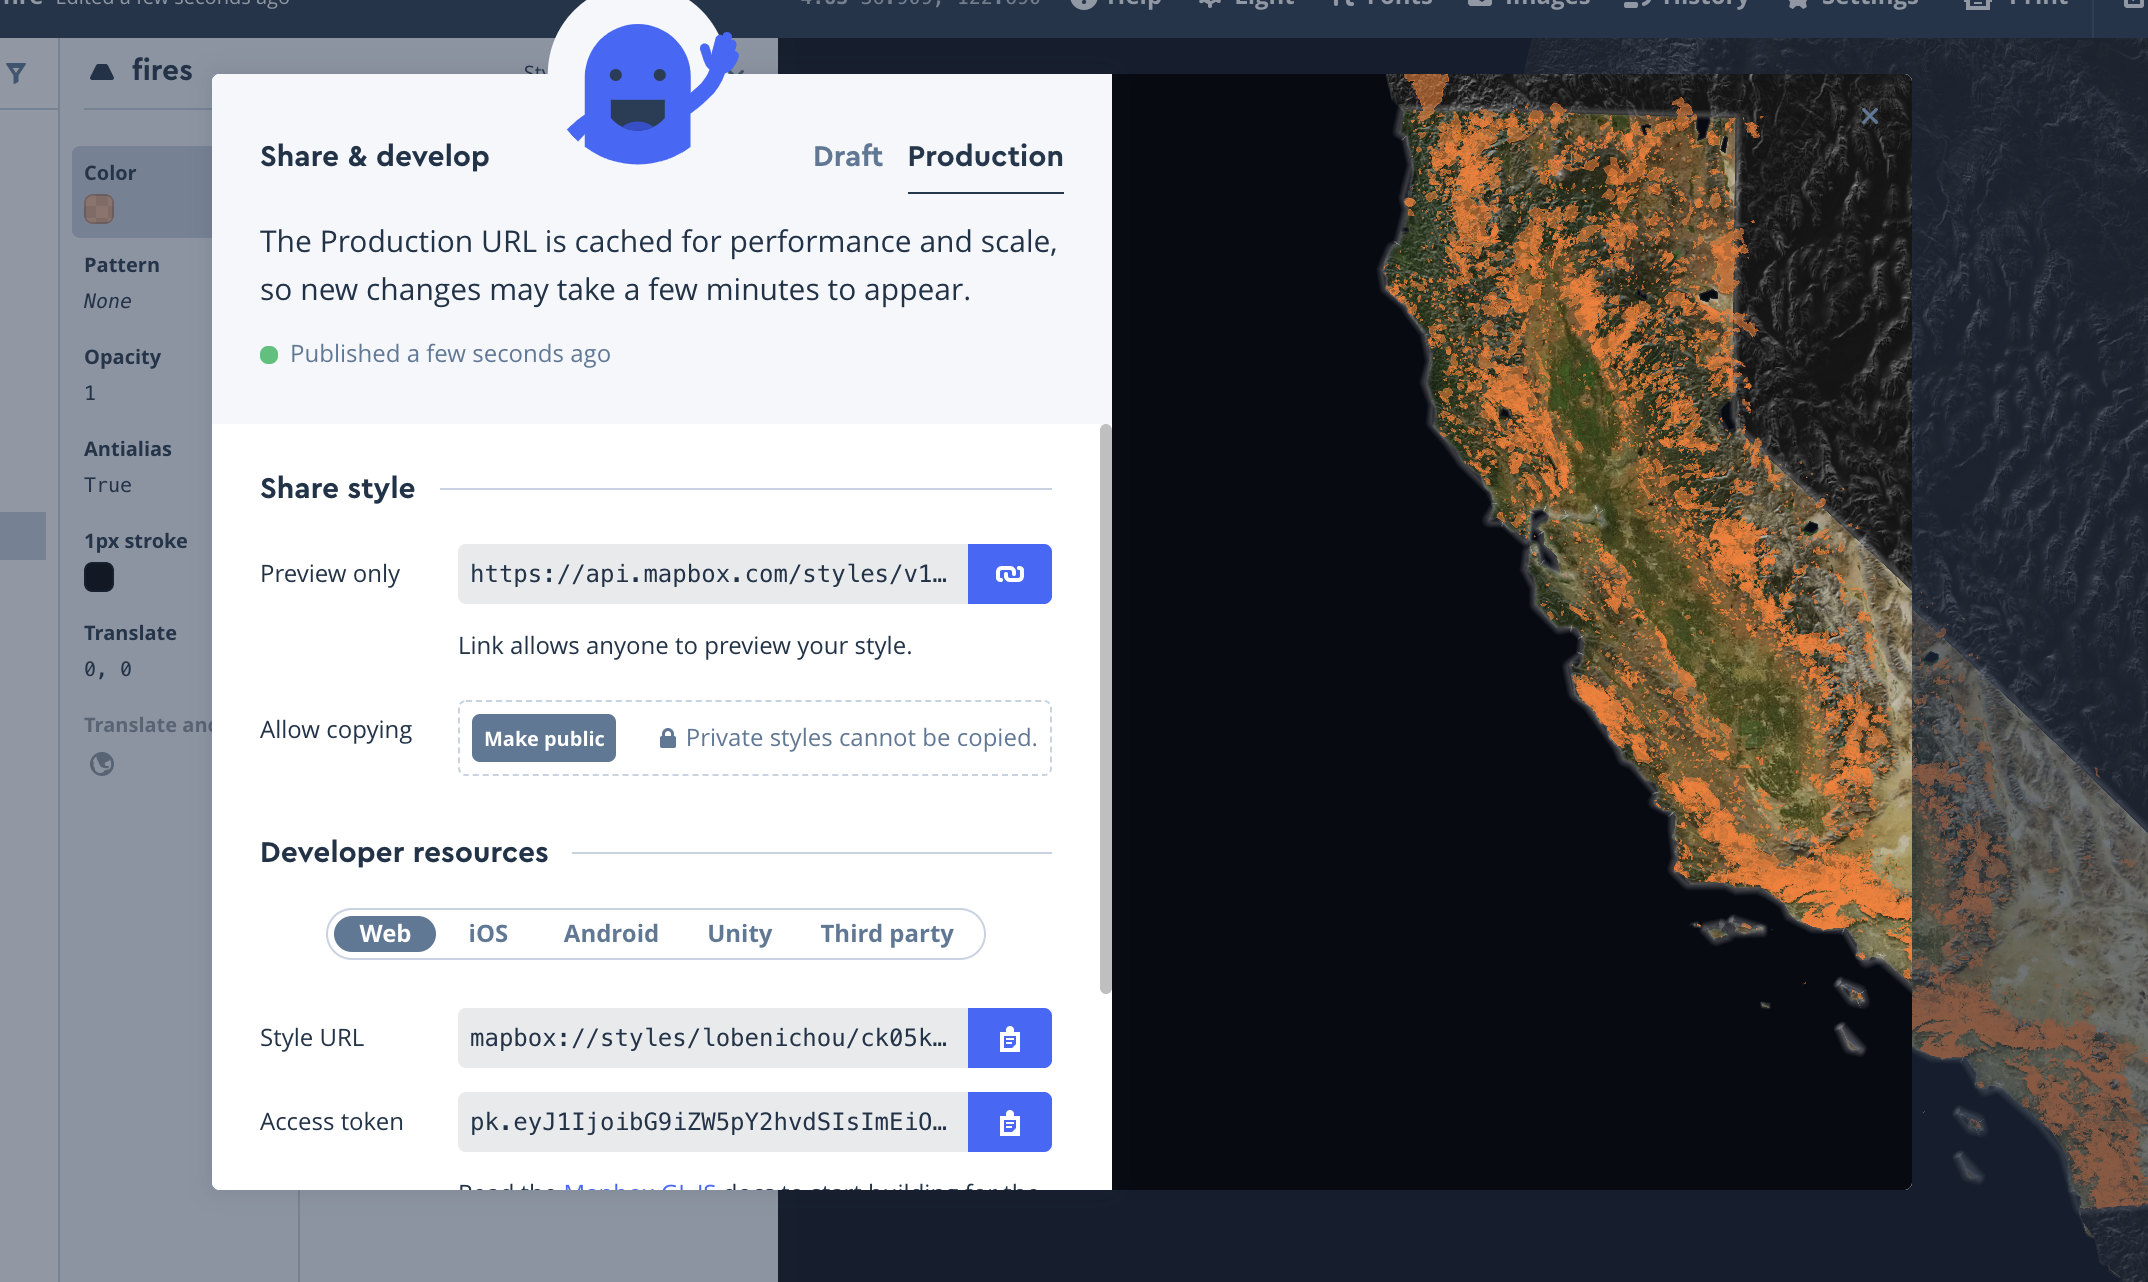
The url and the token will go at the top of your configuration file. You should also turn off the showMarkers option since we won’t be needing the default markers for this story. Pick a theme (dark , light) and an alignment (left, right, center).
{
    style: 'mapbox://styles/lobenichou/ck05kn7hv1iuz1cmjiea38oc6',
    accessToken: 'pk.eyJ1IjoibG9iZW5pY2hvdSIsImEiOiJjajdrb2czcDQwcHR5MnFycmhuZmo4eWwyIn0.nUf9dWGNVRnMApuhQ44VSw',
    showMarkers: false,
    theme: 'dark',
    alignment: 'left',
    ...
}
Now, we’re going to update our chapters and adjust layers based on the story we’d like to tell.
Similar to our basic example, you can update the title, the description, and even add an image. But we’re also going to specify the opacity of each layer, which will be triggered as the user scrolls through the different chapters of your story. This means that when a text block enters or exits the screen, the layers’ opacity will adjust based on your settings.
Note that a chapter can enter the screen twice: once while the user scrolls down and once while the user scrolls back up. This means that if you want certain layers to return to their initial state, you will want to specify the settings in onChapterEnter. For example, in the setup above, I know that fires and satellite are already configured in Studio to show up on the initial load. I could therefore leave onChapterEnter as is. However, I still want to specify the opacity for each layer in onChapterEnter for when the user scrolls back up to Chapter 1 and 2. So chapter 1 and 2 will actually look like this:
{
    id: 'chap-1',
    title: '',
    image: 'images/graph.png',
    description: '',
    location: {
        center: [-124.99958, 37.21861],
        zoom: 5,
        pitch: 0.00,
        bearing: 0.00
    },
    // we have to specify these settings for when the user comes back to this chapter
    onChapterEnter: [
        {
            layer: 'fires',
            opacity: 1
        },
        {
            layer: 'satellite',
            opacity: .5
        }
    ],
    onChapterExit: [
    ]
},
{
    id: 'chap-2',
    title: '',
    image: '',
    description: 'From 1895 to 2018, wildfires burned 35,437,560 acres of land. California measures nearly 105 million acres. In the past 123 years, wildfires have burned the equivalent of 33.8 percent of California.',
    location: {
        center: [-124.99958, 37.21861],
        zoom: 5,
        pitch: 0.00,
        bearing: 0.00
    },
    // we have to specify these settings for when the user comes back to this chapter
    onChapterEnter: [
        {
            layer: 'fires',
            opacity: 1
        },
        {
            layer: 'satellite',
            opacity: .5
        }
    ],
    onChapterExit: [
        {
            layer: 'fires',
            opacity: 0
        },
        {
            layer: 'satellite',
            opacity: 1
        }
    ]
}
Now, when the user moves from one chapter to the next, up or down, the state of these layers will be reset.
With onChapterEnter and onChapterExit you can control the opacity of each layer using a number from 0 to 1. Below, I am adjusting california-33 to be 0.8 on enter and 0 on exit.
onChapterEnter: [
    {
        layer: 'california-33',
        opacity: .8
    },
    {
        layer: 'california-33-line',
        opacity: 1
    },
    {
        layer: 'satellite',
        opacity: .5
    }
],
onChapterExit: [
    {
        layer: 'california-33',
        opacity: 0
    },
    {
        layer: 'california-33-line',
        opacity: 0
    }
]
For each chapter, you can repeat those steps, adjusting your layers as needed. The result should be a story that takes the reader through relevant data points, contextualized by location and visualizations. You can experience the full demo here.
Optional: Publish to Glitch
There are many ways to publish your final story online. Glitch is an easy-to-use platform that lets you create and publish web apps with little to no-coding. First, sign up for an account. Then let’s move the code from your computer to the web!
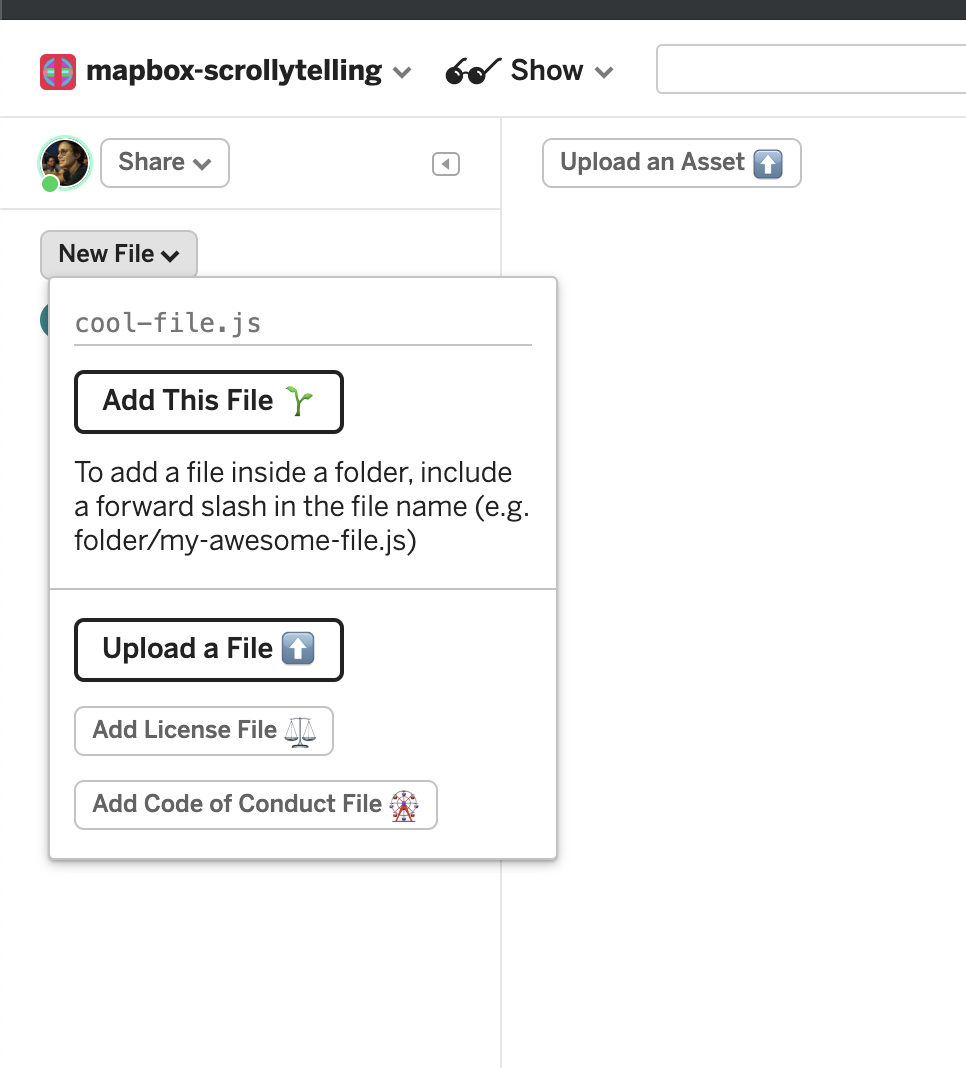
On the Glitch homepage, click on “New Project” and select “hello-webpage.”

This will open a new project dashboard. On the left, you can delete all the default files and upload your own. That would include index.html, config.js, and your images from your template.
Note that images uploaded to Glitch will now have a new url. To make sure your images show up once you publish, replace the url in config.js with the new Glitch url. To get the new url, click on “assets”, and click on the image.
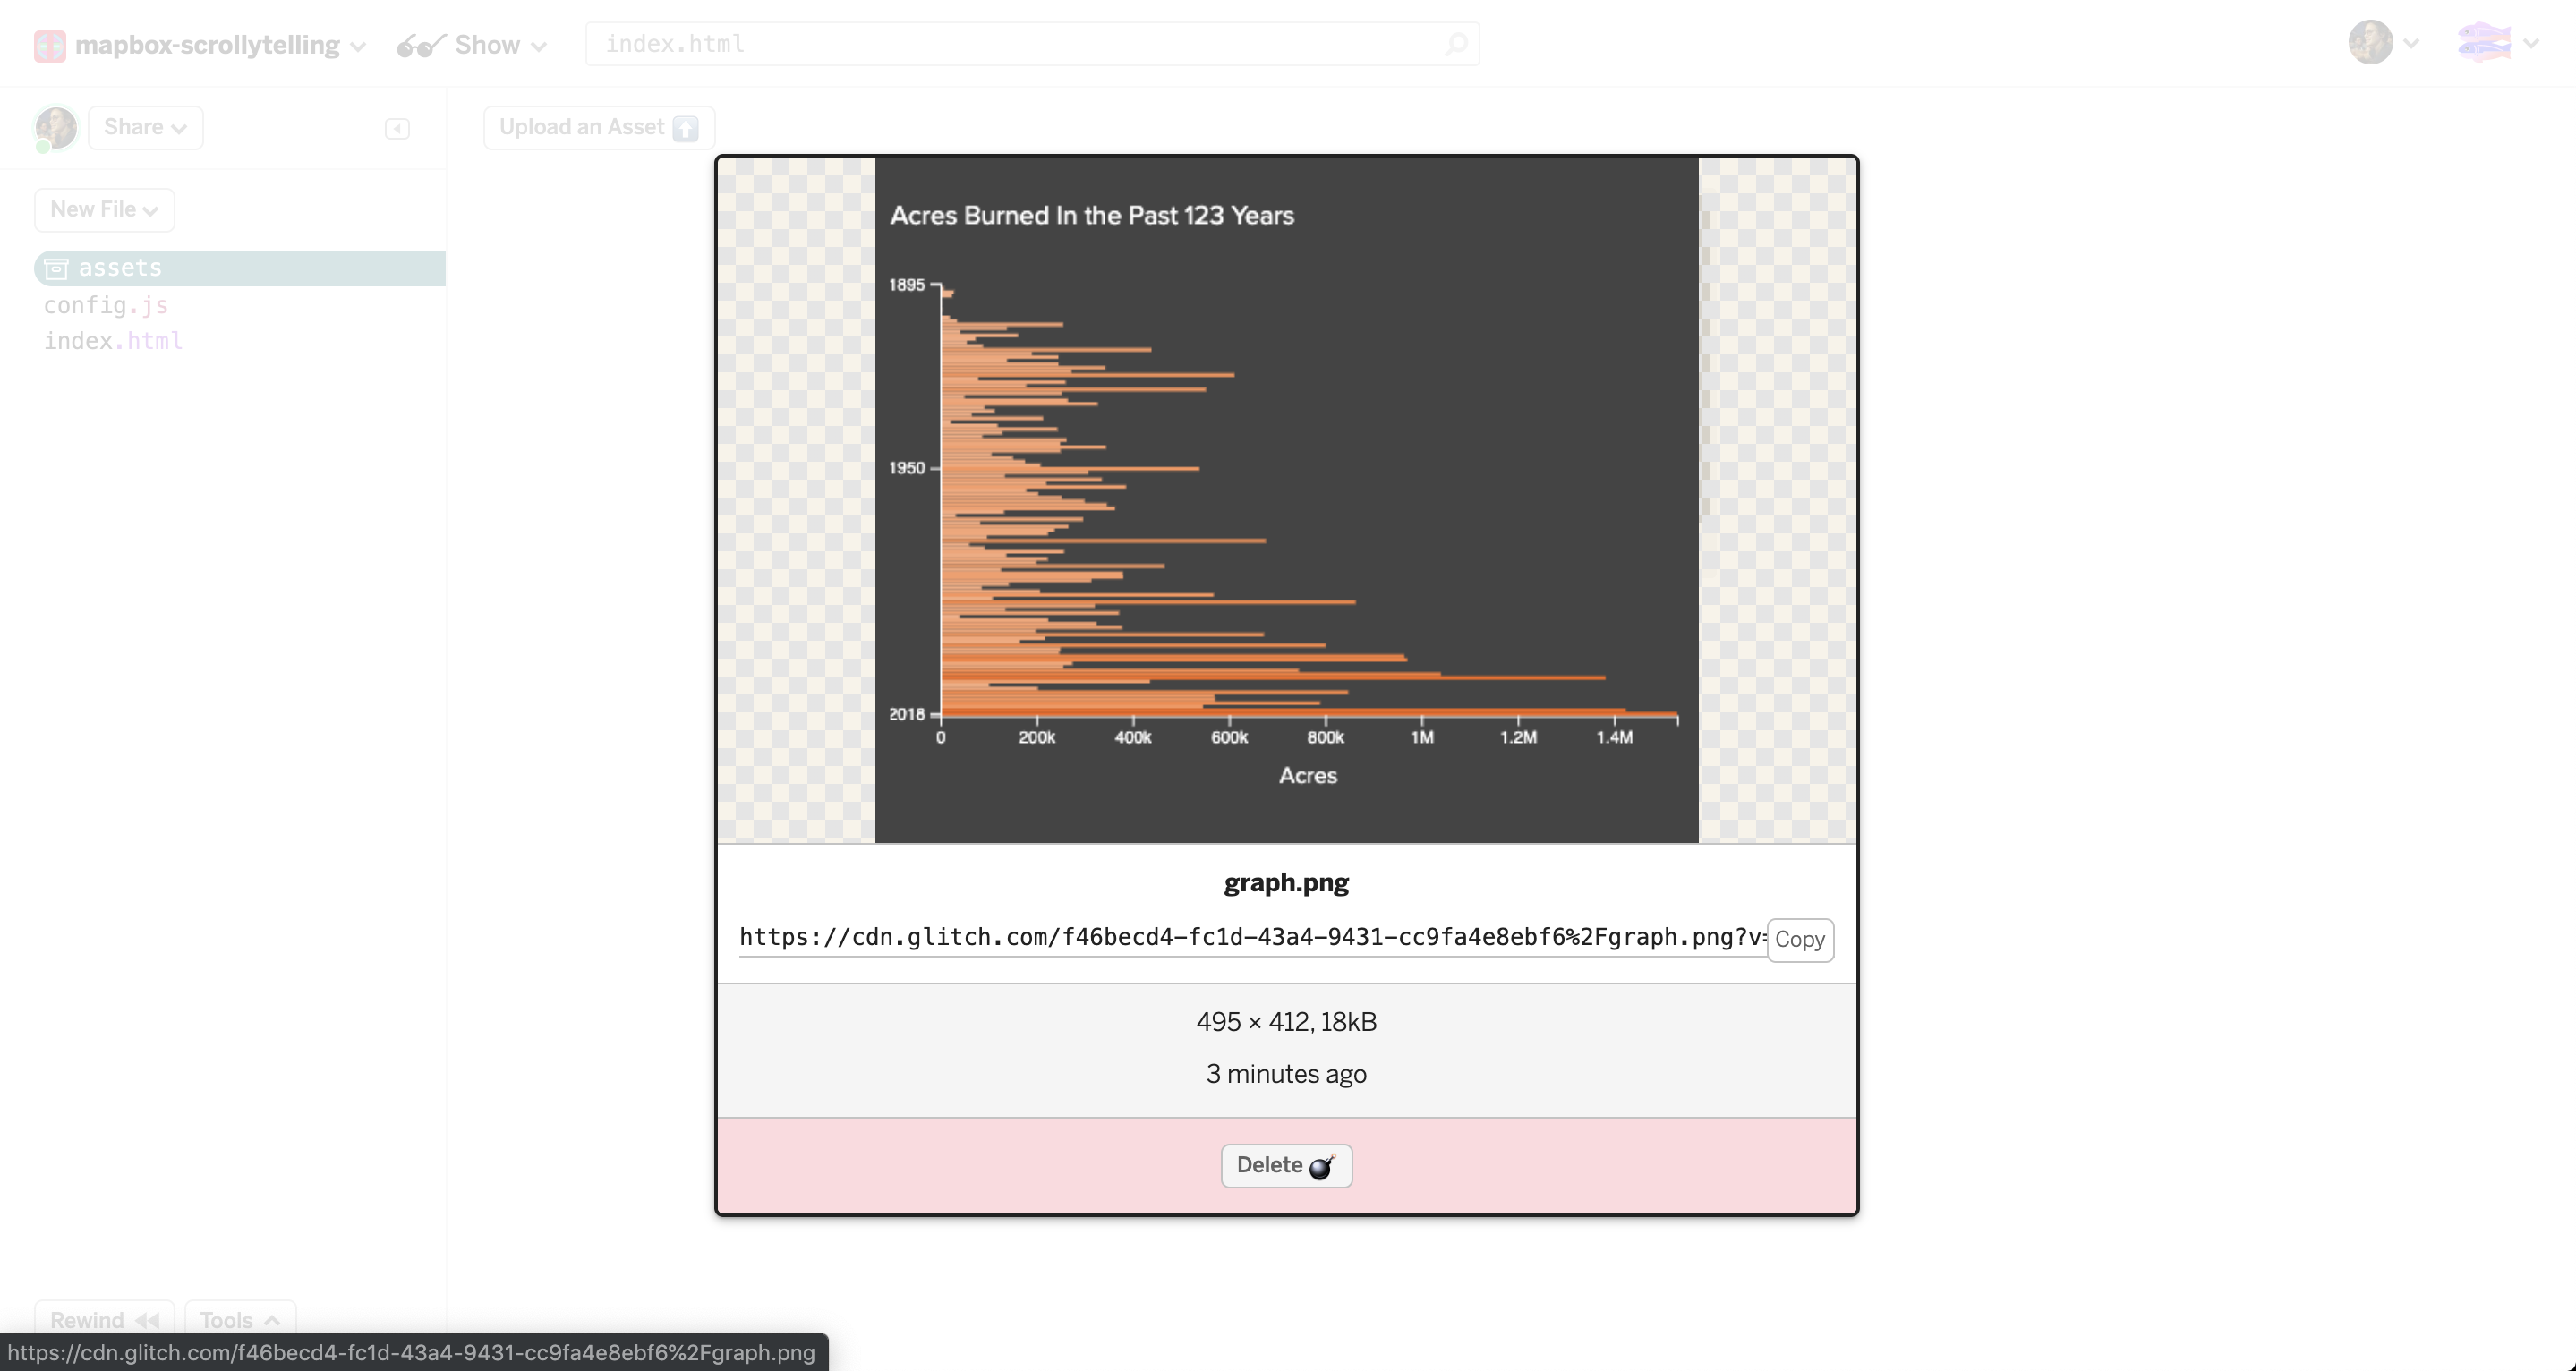
Click on “Copy,” navigate to your config.js file, and replace the old url with the new one, like so:
And you’re done! You can preview your app by clicking on “Show” > “In a New Window.” Here is the demo published on Glitch.
Share what you build on twitter with #builtwithmapbox and if you have any questions.


Related articles
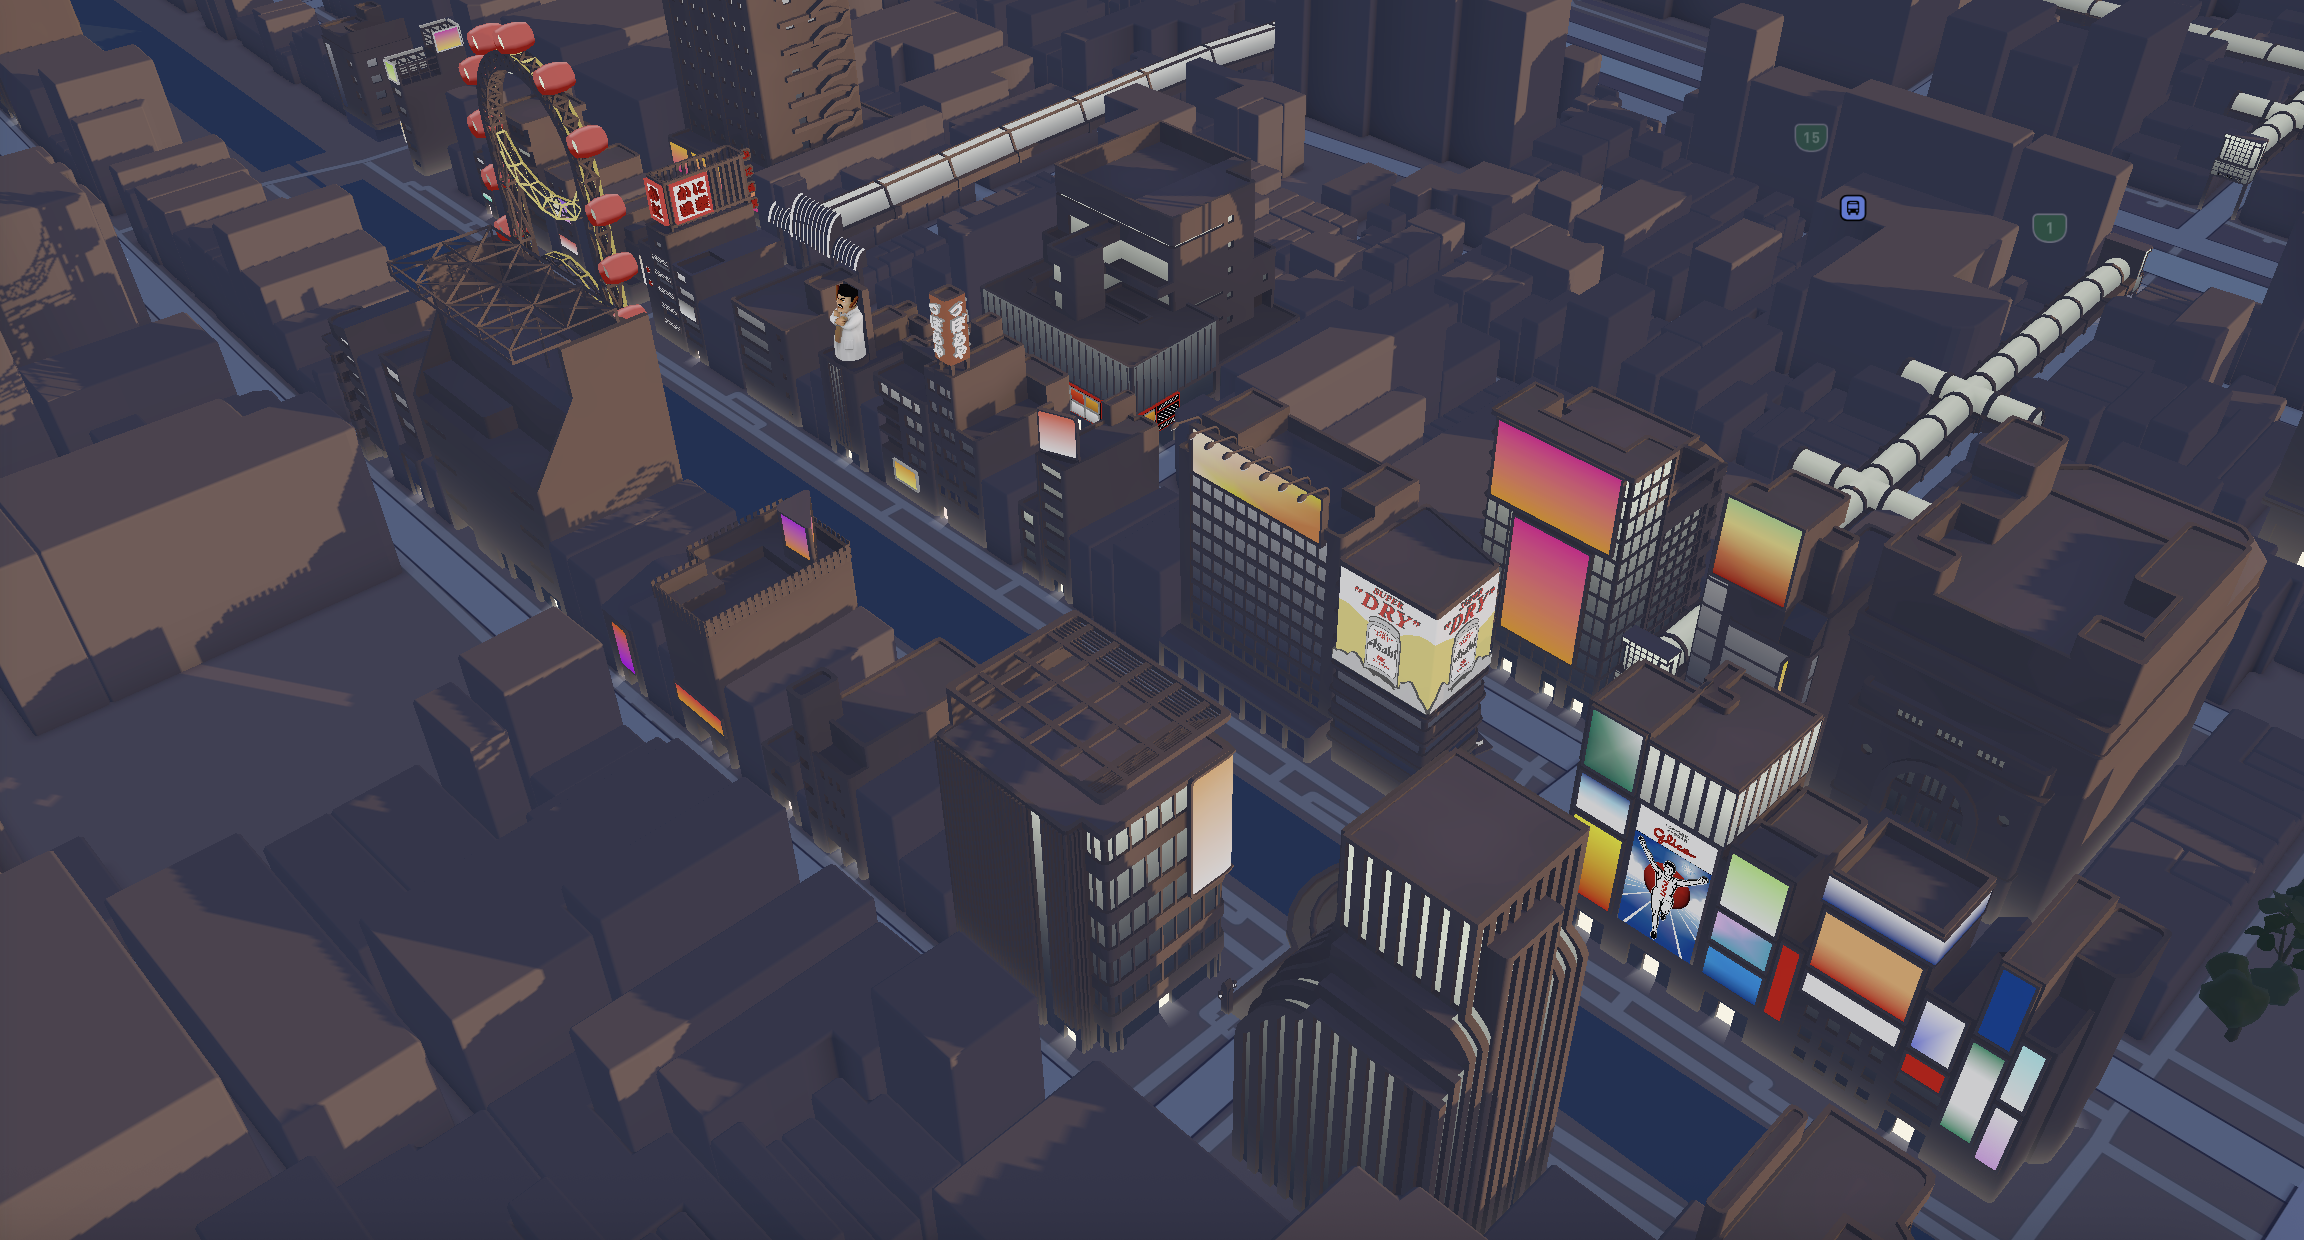
Tour Osaka in 3D with Mapbox Standard

One Attribute to Rule Them All