Introducing the Mapbox WebMCP plugin for GL JS
Let browser agents operate your GL JS map using the WebMCP standard.
The Mapbox WebMCP plugin for GL JS is now in public preview. With the plugin, you can give a browser agent controls to read and operate maps built with Mapbox GL JS. Install it from npm, add the control to your map, and follow the README to start.
WebMCP is an emerging browser standard that lets a web page offer tools to AI agents. With the Mapbox WebMCP plugin for GL JS, a browser agent can read website text and use controls on the page to interact with the map. Without the WebMCP plugin, an agent can only interpret the map as an image and rely on imprecise methods to approximate interaction which is slow, error-prone, and burns a lot of tokens. The WebMCP plugin for GL JS from Mapbox fixes this.
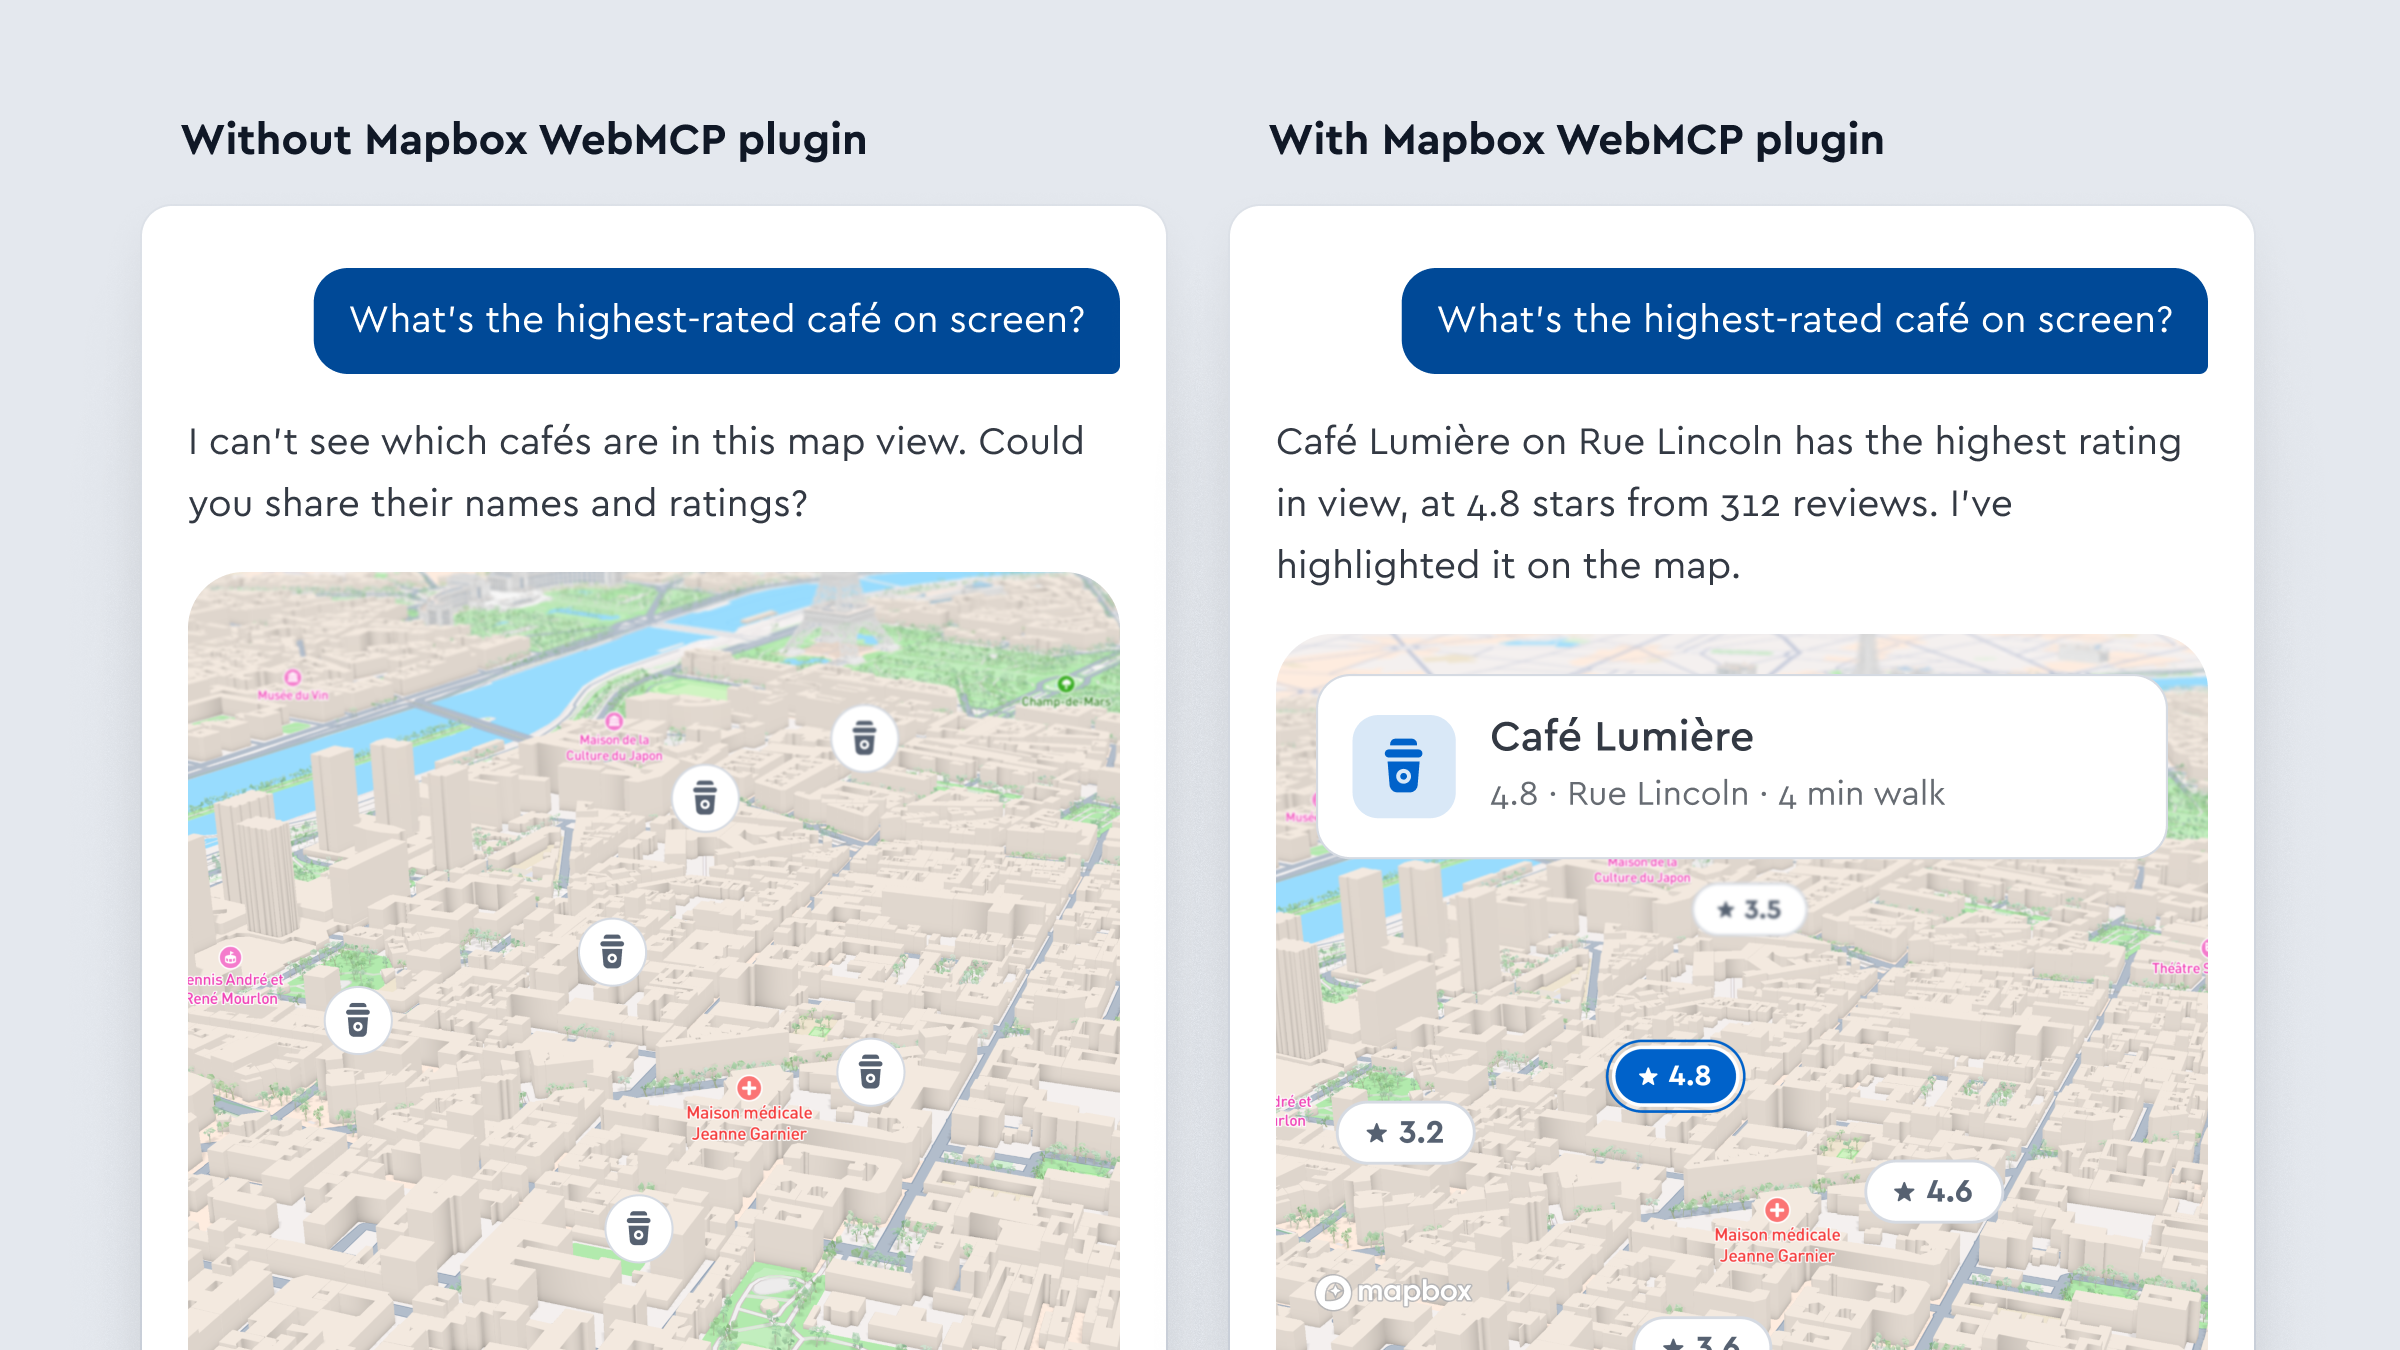
With the plugin, the agent gets seven map tools providing 28 possible actions. The agent can move the camera, filter layers, highlight features, change the style, and add markers, popups, and data to the map. Each call returns the map’s new state as JSON, so the agent knows what changed. The tools run on the page itself, with no need to run a separate MCP server, gateway, or WebSocket bridge.
What agents can do with the Mapbox WebMCP plugin
With the plugin on your page, a browser agent can act on the map to answer a request, and the user sees the result on the map. For example:
Answer questions about the map. A user asks, “Show me the café closest to the hotel with a high rating?” The agent uses the feature tool to find the cafes within 500 meters of the hotel and sort them by rating. It then positions the map to highlight the top result using the camera tool, and opens a popup next to the business with the name and rating using the popup tool. For a question about an area, such as “Which listings are in Greenwich Village?”, the agent finds the listings inside the neighborhood boundary, highlights them, and fits them on screen.
Change what the map shows. A user asks, “Show listings with two bedrooms under $7500.” The agent filters the layer with the layer tool, showing only listings that match. It then fits the matching listings on screen with the camera tool. The agent can also add data the map did not have: when it has GeoJSON from another tool on your page, such as a delivery zone, it adds the data with the source tool and draws it on the map with the layer tool.
Change how the map looks. A user types or says, “Switch to night mode and show the labels in French.” On a map with the Mapbox Standard style, the agent makes both changes with the style tool.
How to get started
Install Mapbox WebMCP plugin from npm, add the control to your map, and follow the README to start.
1. Install the package
npm install @mapbox/mapbox-gl-webmcp@experimentalThe plugin needs Mapbox GL JS version 3.35.0 or newer to run. The package ships under the experimental tag while the plugin is in public preview.
2. Import the control and the tools
MapboxWebMCP is the control you add to the map, tools holds the 7 built-in tools.
import mapboxgl from 'mapbox-gl';
import {tools} from '@mapbox/mapbox-gl-webmcp/tools';
import {MapboxWebMCP} from '@mapbox/mapbox-gl-webmcp';3. Add the control to your map
Pass your mapboxgl object and the tools you want agents to have.
const map = new mapboxgl.Map({
    container: 'map',
    style: 'mapbox://styles/mapbox/standard'
});

map.addControl(new MapboxWebMCP({mapboxgl, tools}));
That last line registers every tool with the browser, with its name, description, and input schema. You do not need to connect or configure an agent; agents that support WebMCP can find the tools on your page.
4. Turn on WebMCP in Chrome
To test on your own machine, turn on chrome://flags/#enable-webmcp-testing and relaunch Chrome. For a production site, register for the WebMCP origin trial and add the token to your pages:
<meta http-equiv="origin-trial" content="YOUR_TOKEN">5. Let an agent call the tools
An agent calls a tool by its name, with a JSON input. Take a map with a places layer, where each place has a rating. When a user asks for only the places rated 4 and up, the agent calls the layer tool with this input:
{"action": "setFilter", "layerId": "places", "filter": [">=", ["get", "rating"], 4]}filter is a Mapbox GL JS filter expression. The tool applies the filter to the map and returns the result:
{"type": "success", "value": {"layerId": "places", "matched": 2, "query": "source"}}The map now shows only the 2 matching places, and the agent can tell the user the count. To find the layer names and their properties, the agent calls the same tool with {"action": "listTargets"}.
If the agent sends bad input, nothing changes. A camera call with zoom set to a string returns this error, and the camera stays where it was:
{"type": "error", "error": {"message": "zoom: expected number, received string"}}The agent can read the error and correct its call. Chrome's WebMCP documentation describes the ways to call WebMCP tools today, including an inspector extension for testing.
You decide what agents can do
Pass all 7 tools, or only the tools you want. Rename a tool by giving it another name in the tools object:
import {camera, marker} from '@mapbox/mapbox-gl-webmcp/tools';
map.addControl(new MapboxWebMCP({mapboxgl, tools: {camera, pins: marker}}));
You can also write your own tools. A custom tool is a description, a JSON Schema for its input, and an execute function that receives the checked input, the map, and the mapboxgl object you passed. Custom tools can also bring in location data from other Mapbox services through the hosted Mapbox MCP server.
Everything the plugin adds to the map has an id that starts with mapbox-webmcp-. The tools add and remove only their own sources, layers, style imports, markers, and popups, never the ones your application created.
Plugin limitations
The plugin is in public preview and WebMCP is still a draft standard. These limits apply today.
- Browser support. WebMCP works in Chrome 149 to 162 with an origin trial token, or with a local flag for testing. In a browser without WebMCP, the control registers no tools and the map works as before.
- Loaded features only. For a layer, the
featuretool reads the features in the loaded tiles. For a featureset, it reads only the features on screen. It does not query a whole dataset. - Highlighting and fitting need feature ids. The agent names a feature by its id, so your data needs ids to be highlighted or fitted on screen. Highlighting also needs a layer style that reads a feature state.
- Subject to change. The plugin API may change before version 1.0.
Location infrastructure wherever you build
The WebMCP plugin joins the Mapbox location infrastructure for AI. The Mapbox plugin for ChatGPT brings Mapbox into ChatGPT and Codex. The Mapbox CLI brings Mapbox into the terminal for coding agents.
The WebMCP plugin adds the map that already runs in your web application.
Try the WebMCP plugin
See the plugin README for detailed instructions on how to install the plugin and add it to your page. Want a tool the plugin lacks today? Open an issue on GitHub.



Ready to get started?
Create an account or talk to one of our experts.